Connecting the Smart Contract to a WebApp
The final step in the development of our smart contract is to distribute it through a Web application so that people can interact with it through a Web Browser + Metamask.
As a reference, the simple Web application we will build should resemble this mock Up.
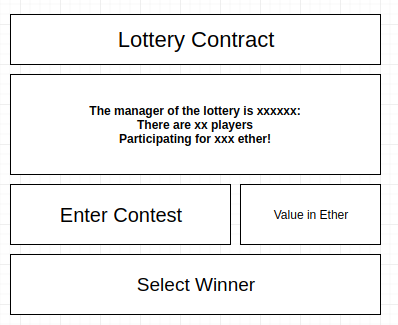
A possible Web development framework we can use is React.
We need to create a robust client-side application that can manage the Private keys of the users safely, on their machines, and only send signed transactions through the network, to be included in the Ethereum blockchain.
- Let’s start by installing create-react-app.
$ npm install -g create-react-app- Then, inside our application directory, we will run the command:
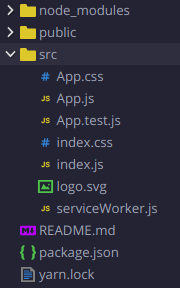
$ create-react-app lottery-reactThe lottery-react directory should have the next structure, once the creation process ends.
- Let’s run the server to check that everything is working correctly so far:
$ cd lottery-react
$ npm run start- We can see a live version of the WebApp by opening the servers tab and clicking on the node server.
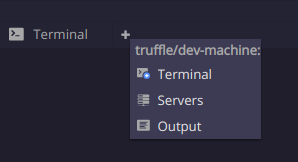

We should see a live application running from our workspace, deployed to the WorldWideWeb.
The link, to Learn React, is a good start if the next steps feel overwhelming.
Or just for a brush in JS Web development.
Now that we know that the server is running, we can begin our integration process.
- We will create a symbolic link, symlink, to reference our compiled Smart Contract to the new React application.
$ ln -s /projects/lotteryapp/build/contracts/ /projects/lotteryapp/lottery-react/srcThe symlink will create a file that will let us interact with the ABI (abstract-binary-interface), and deployment address of our lottery contract.
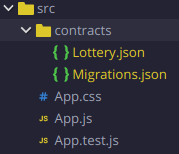
- Inside our src sub-directory, we will create two new files:
$ touch web3.js lottery.js- Editing web3.js:
A. First, inside web3.js, we will write 3 lines, to instantiate a Web3 object that uses the web3 provider injected by Metamask in the browser of each user.

B. To make sure to have web3 in our system:
$ npm install -g web3- Editing lottery.js:
A. Import the instance of web3 we just created, as well as the Lottery.json file from the contracts symlink.

B. In the lottery_json there constant, we can now find the ABI of our lottery contract, as well as the address of its deployment.

C. In the last line, we create and export an instance of our lottery contract, so we can use it in our WebApp.

- It is time to edit the App.js file.
A. The last 2 lines reference the web3.js and lottery.js files we just created.

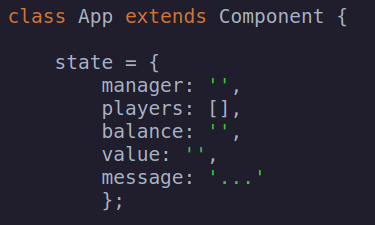
B. We then create our React component along with 5 state variables, which will be used to show information to the user.
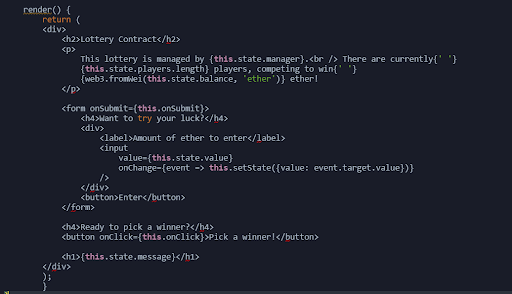
C. Next, put the UI elements in place. More details for beginner developers in the appendix.
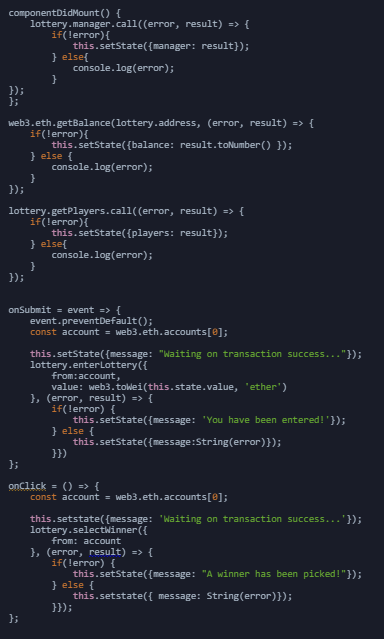
D. Now, we integrate the HTML + JS functionality with the power of the Ethereum Smart Contracts.
Once the development of our WebApp has finished, it is time to run the app with the command:
$ npm run startHead to the URL where our workspace exposes the server, and manually test the application.
MetaMask considerations
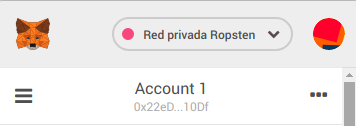
- Remember to Configure Metamask, with the 12-mnemonic words generated in the deployment process, or otherwise, the selectWinner function won’t be able to be triggered.
- It is also important to set the network for the Ropsten test network so that the Metamask can interact with the deployed contract.
Lottery WebApp
Once the application runs, you can retrieve the live URL from the workspace info by clicking on the button “Retrieve”.
Below are some sample images of the working WebApp:
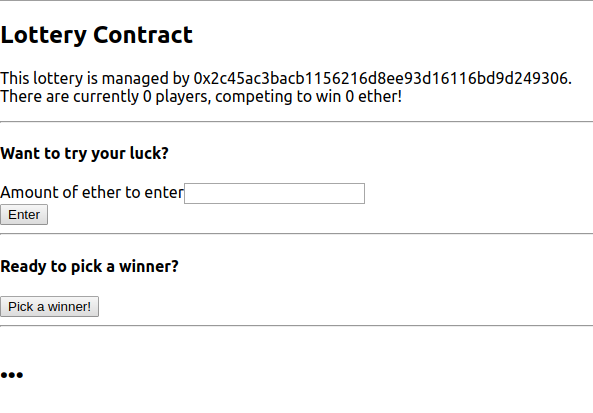
Initial State
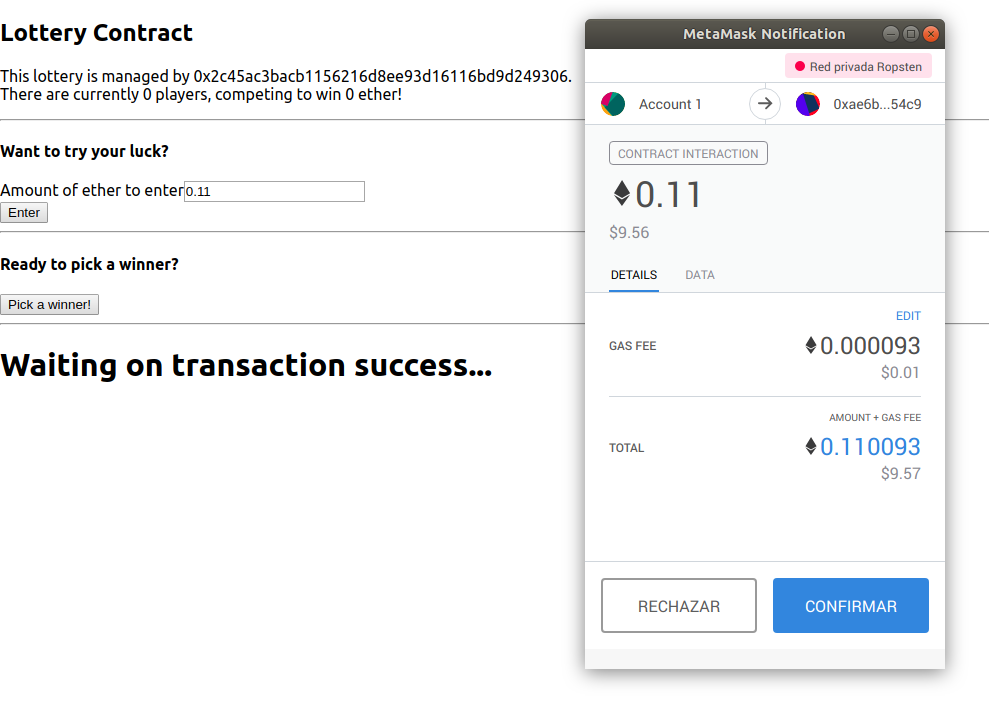
Enter Lottery
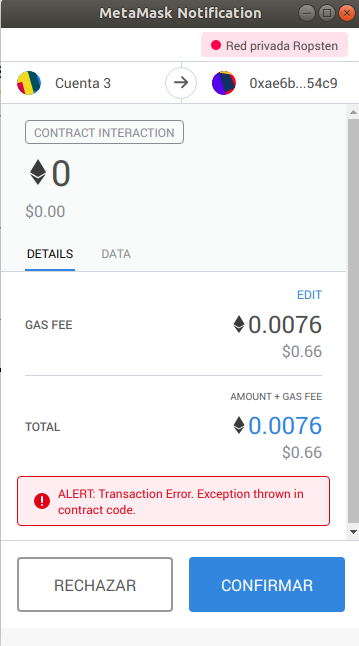
Selecting Winner - account different than manager
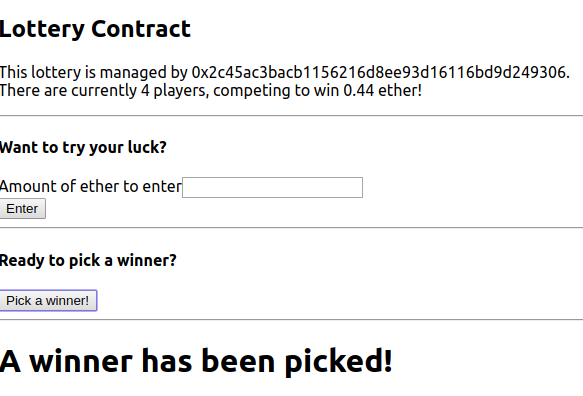
Selecting Winner - manager account
Updated 10 months ago
