Workspaces
Understanding Morpheus Labs SEED dashboard and CDE features will help you to fully utilize and reap the benefits of the platform. In this chapter, explore using the workspace and ready-to-go stacks on the Collaborative Development Environment (CDE).
Solution Center introduction
The Solution Center comprehensively covers the development, test, deployment, run, and scale applications across physical, virtual, and distributed ledger technologies environments. The solution center is described as an "end-to-end application development product"
As part of the Solution Centre, CDE (Collaborative Development Environment) plays an essential role in the lifecycle of blockchain application development.
Workspace in SEED represents the main entry point into the Blockchain Application Development. By creating your own workspaces you can host projects and develop code using the available ready-to-go stacks. The stacks come with runtimes, preconfigured components and the cloud IDE supports multiple languages.
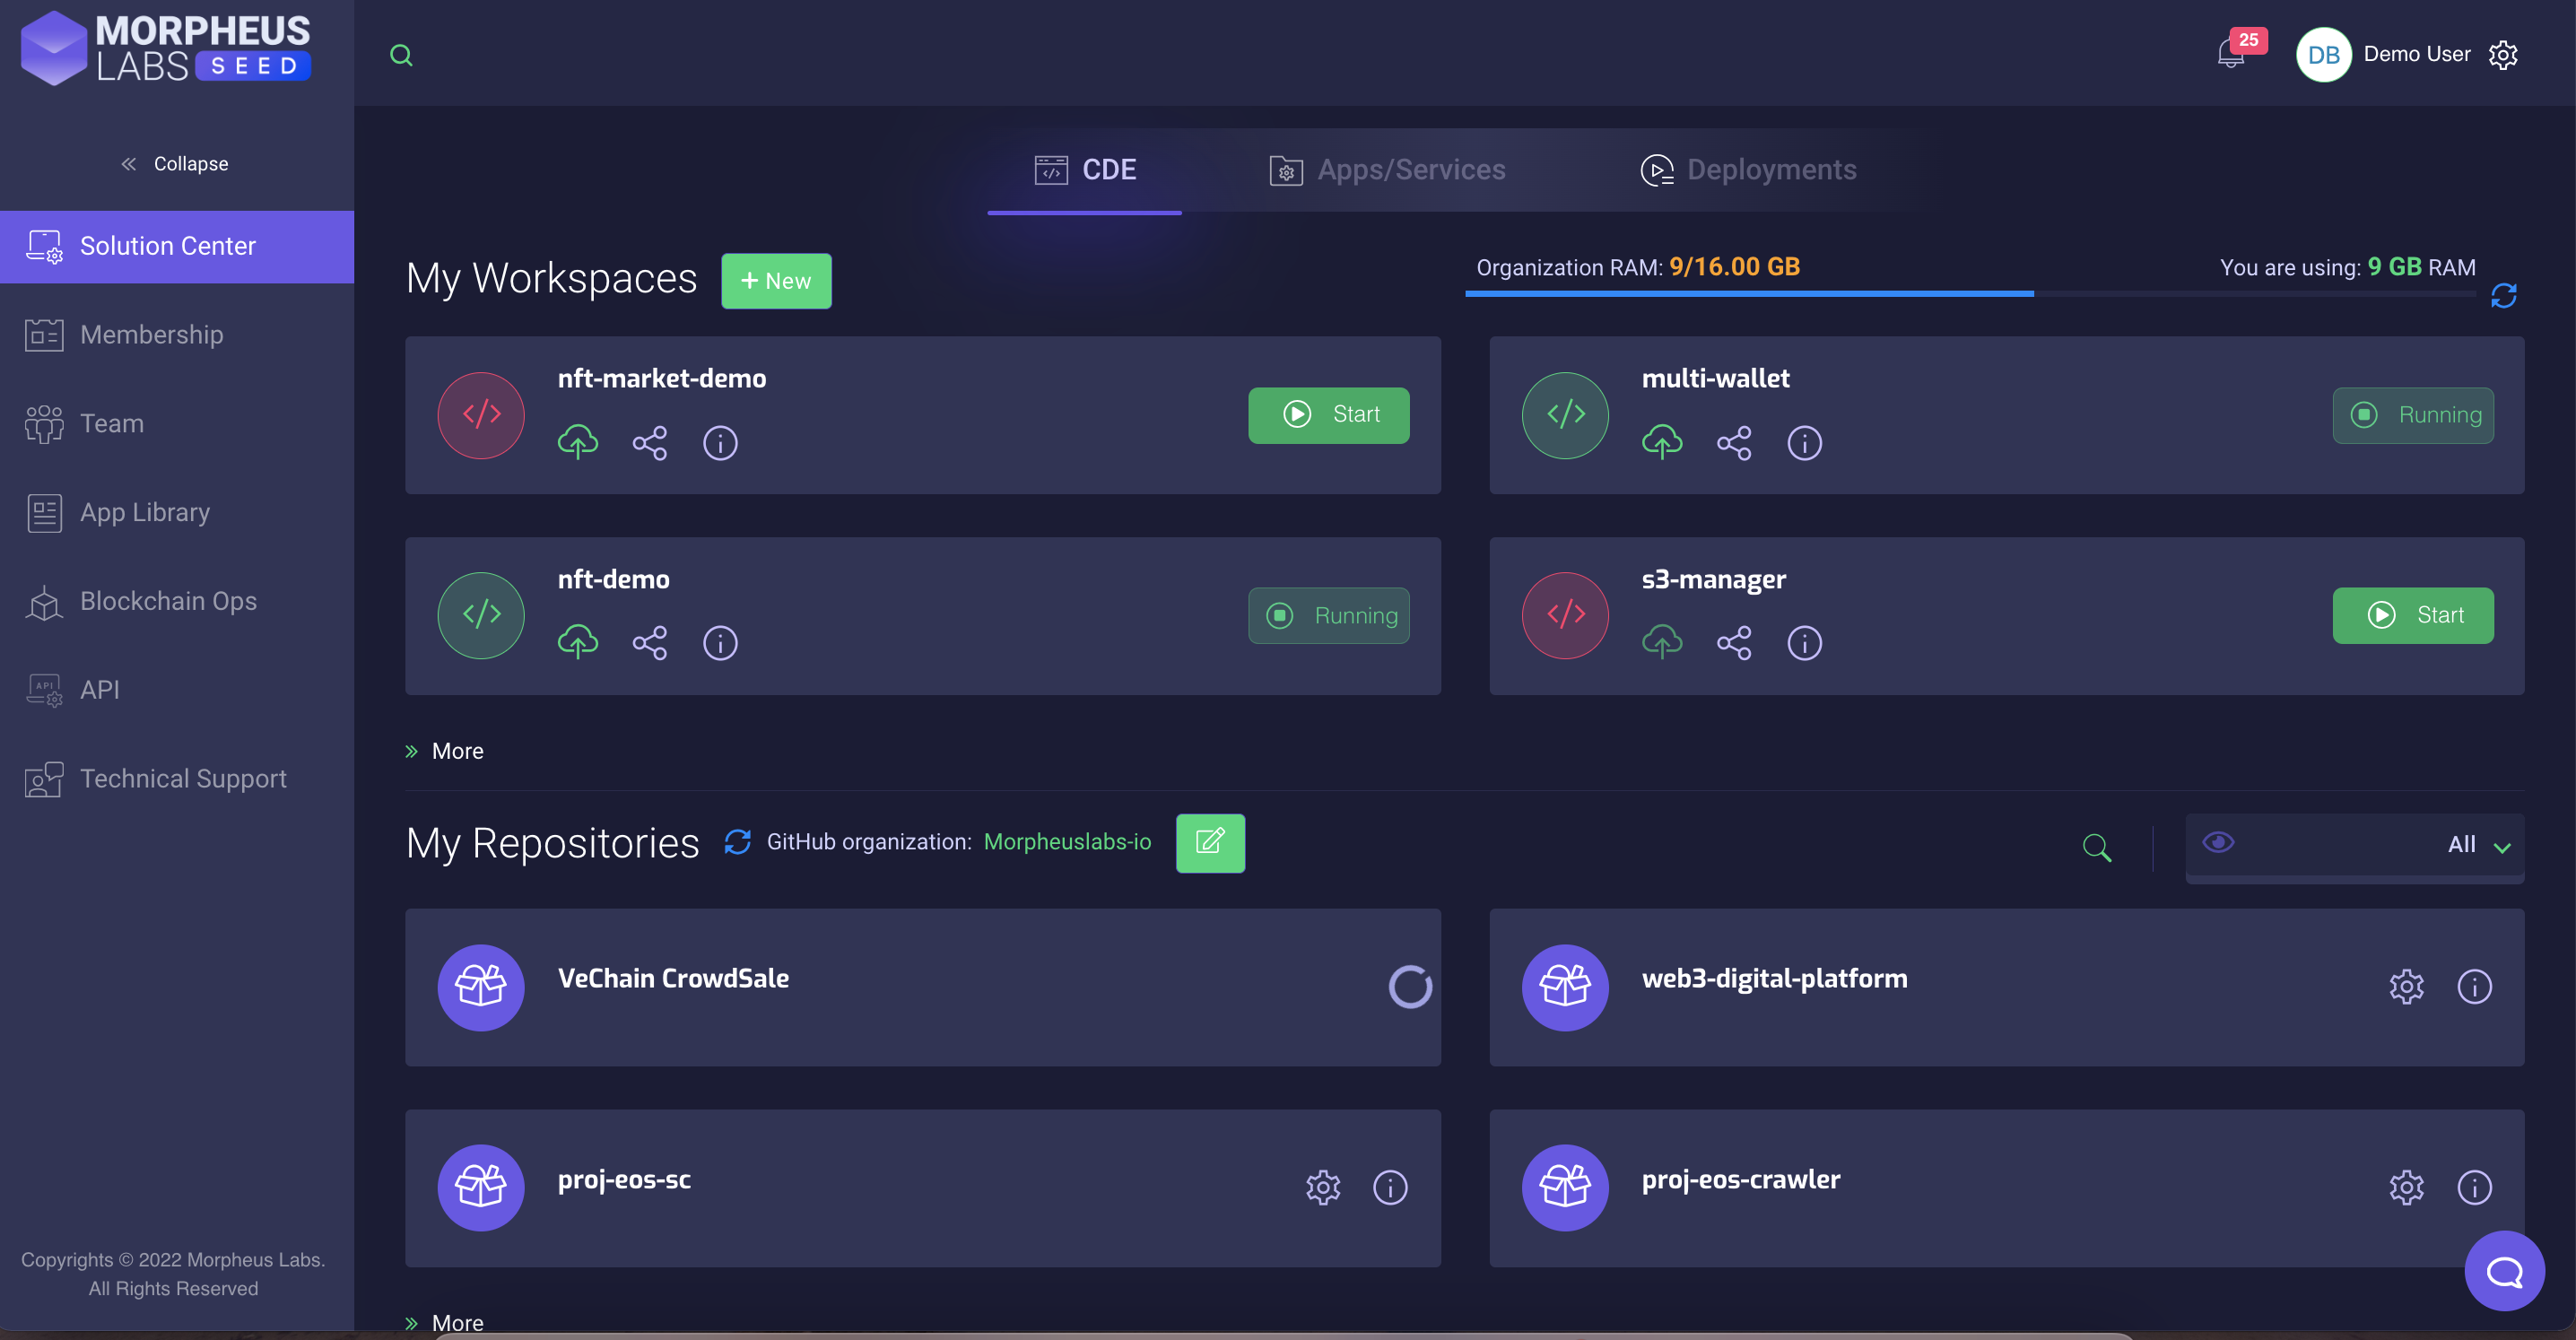
Solution Center: CDE landing page
Create a workspace
-
Click on the “New Workspace” icon situated at right side of the My IDE Workspaces section in the Dashboard.
-
Fill in the name of your new workspace.
-
Choose the blockchain to work with, the type of application and the runtime environment (only standard option is active in this version). Click the next button.

Select the options for the workspace
- Select the development stack.
- Ensure you have checked details clicking to "More Details" as shown in the next image (see 1)
- Allocate the RAM for your dev machine as shown in the next image (see 2).

Stack selection
- Next, you can choose your project. For this, you can pick from a list that you have imported into “My Repository”, these are DApps which you have downloaded from the App Library or any repository created under your git account (created either by using My Repository menu or the repositories created externally under your git account.

Project Selection from projects imported into My Repository
Alternatively, you can import your code from other external Git repositories by selecting "Git URL". Select your Git URL (linking to your project code). Upon the creation of your workspace, the code will be preloaded into the editor.
Note: If you are able to choose the option "Blank Project", that means nothing will be preloaded into the editor. You will have to import your project manually from the editor itself
Project selection directly from Git path
*Note. Type of Blockchain and Category acts as a filter for the next wizard steps. For example, if you select Ethereum blockchain you will see the Truffle-ganache stack, and if you select Multichain you will see the php stack.
Choose the blockchain internal end point
There are two network categories:
- BPaaS Hosted. You can select and add from the drop-down list of your networks active in the platform.
- Other Networks. You can manually input an external network (e.g. Main Ethereum Network)

Optional add blockchain endpoints
Click the "Confirm & Submit" button to create the workspace.
Note: Once the blockchain endpoint has been added to the list, the workspace runtime (dev-machine) will store the endpoints in an environment variable. The variable starts with BLKENDPOINT_....
Example of how you can refer to the blockchain endpoint linked to the workspace.
# Blockchain network RPC uri
MY_NETWORK_PROVIDER =`env | grep BLKENDPOINT_EXT | awk '{sub(/.*\=/, ""); print}'`
Example of how you could use a script to dynamically set the endpoint inside of .env file
#!/bin/bash
cd /projects/myproject
cp env.example .env
MY_NETWORK_PROVIDER=`env | grep BLKENDPOINT_EXT | awk '{sub(/.*\=/, ""); print}'`
if [ -z "$MY_NETWORK_PROVIDER" ];
then
echo "BLOCKCHAIN ENDPOINT WAS NOT LINKED TO WORKSPACE!"
else
sed -i -r "s|BTTC_TESTNET_PROVIDER=.*|BTTC_TESTNET_PROVIDER=$MY_NETWORK_PROVIDER|" .env
fi
More about how to use start-up scripts with installers here
Alternatively, you can manually identify and copy the internal rpc url by clicking on the info icon of the blockchain network, to display the blockchain network information.
Start / Stop a Workspace
Once the new Workspace configuration has been confirmed and submitted, the new workspace will be created although it must be started before working on it.

Stopped Workspace

Running Workspace
View workspace info
In order to see more information regarding the properties of our workspace click on the "i" button.

It will open this window

Workspace Info in V2.0
Retrieve the application url for running apps in the workspace
You can preview the application(s) running in the workspace. E.g. If you run a java app listening on HTTP, the preview URL is generated automatically and you can see it in the workspace information when you click on the retrieve button.

Workspace Info in V1.0
Working with the workspace
Once a workspace is active, it can be accessed and worked on through the CDE dashboard.
To do so, we click on the name or on the workspace rectangle area.
Once the CDE loads, we can start working on it. The below image shows the integrated Eclipse IDE.

Eclipse IDE
Note in Eclipse IDE, another way to access the applications is by clicking the + sign next to the terminal and select Servers from the drop-down menu.

Show application urls
Multiple IDE
Depending of the stack selected, it is possible to have two IDE options. IDE Eclipse and IDE VsCode.

Stack publishing two IDE options
Working with multiple workspaces and multiple IDEs is easy. IDE windows can be docked on the bottom bar allowing you to move back and forth across the platform.

Working with two workspaces/IDE simultaneously
Editing Workspaces
Based on your subscription plan and your team profile you can edit the workspaces.
Click on the workspace info icon (i) then on the listed machine click edit button again.

Edit Workspaces in V2.0
Users can edit the following settings for the workspace (see the image below).
Allocated RAM for the development machine
- Environment Variables. Add/Edit/Remove environment variables to the operating system.
- Server URLs. Add/Edit/Remove URLs for your applications running in the development machine. For example, if you need to run an Angular application you can add a new server URL (protocol: HTTP, port: 4200)
- Volumes. Add/Edit/Remove volumes mapped to your development machine. Volumes allow storing persistent data after workspace restarts.
Note: By default only data stored under the default directory /projects is persistent.

Prepare to publish application from a workspace
As we build applications to solve governance issues or create novel alternatives to decentralized organizations, there is a need for a place to host, make the project brief available to other members of the team, or even other organizations.
Our platform is able to meet this need through the App Library.
We must set up the workspace in 2 simple steps before publishing an application or sharing it with other members of the team.
Read Submit an app to the App Library for more information.
Share a workspace
It is possible to share the application built on a given workspace with other members of a team that shares a Morpheus Labs SEED account.
Read more at Sharing Resources about sharing workspaces
Remove Workspace
You will need to stop the processing of the workspace before you can remove the workspace.

Remove the workspace
Workspace Sharing Url
For your own needs you may need to share the workspace outside of SEED platform (eg. to a community or other developer). Please consider that at the current state you share the url at your own risk as there is no authentication for access it. Anyone with the generated url may have access to your workspace. Follow us in the community and in the developer portal for additional enhancements for the Workspace Url sharing

Workspace Url
Updated over 1 year ago